
You've spent hours styling and snapping pics of your chef's mouth-watering creations, but when you look back at the shots, you can't help but feel a little underwhelmed 😔.
Sure, they're not terrible, but they don't exactly scream "BOOK NOW!" either.
Sound familiar?
Capturing the true deliciousness of a dish is no easy feat, even if you've got some photography skills and technical know-how.
Fear not — you don’t need years of experience as a food photographer to entice potential diners. You just need a little nudge in the right direction.
That's why we chatted with rock star food photographer Andrea Di Lorenzo and rounded up some A+ tips from other professional photographers. These gems will help you level up your food shots from meh to magnificent.
1. Harness the power of natural light
Want to know the key to drool-worthy restaurant shots? According to superstar food photographer Andrea Di Lorenzo, it's all about that natural light.
As he puts it:
"The best advice I can give to someone taking pictures of food is to use natural light from a window. The closer you position yourself to a window, the better your photo will turn out, because it allows you to capture a very nice picture with lighting that is neither too soft nor harsh.”
Next time you whip out your camera to capture your chef's latest masterpiece, step away from the light switches and cozy up to a window instead.
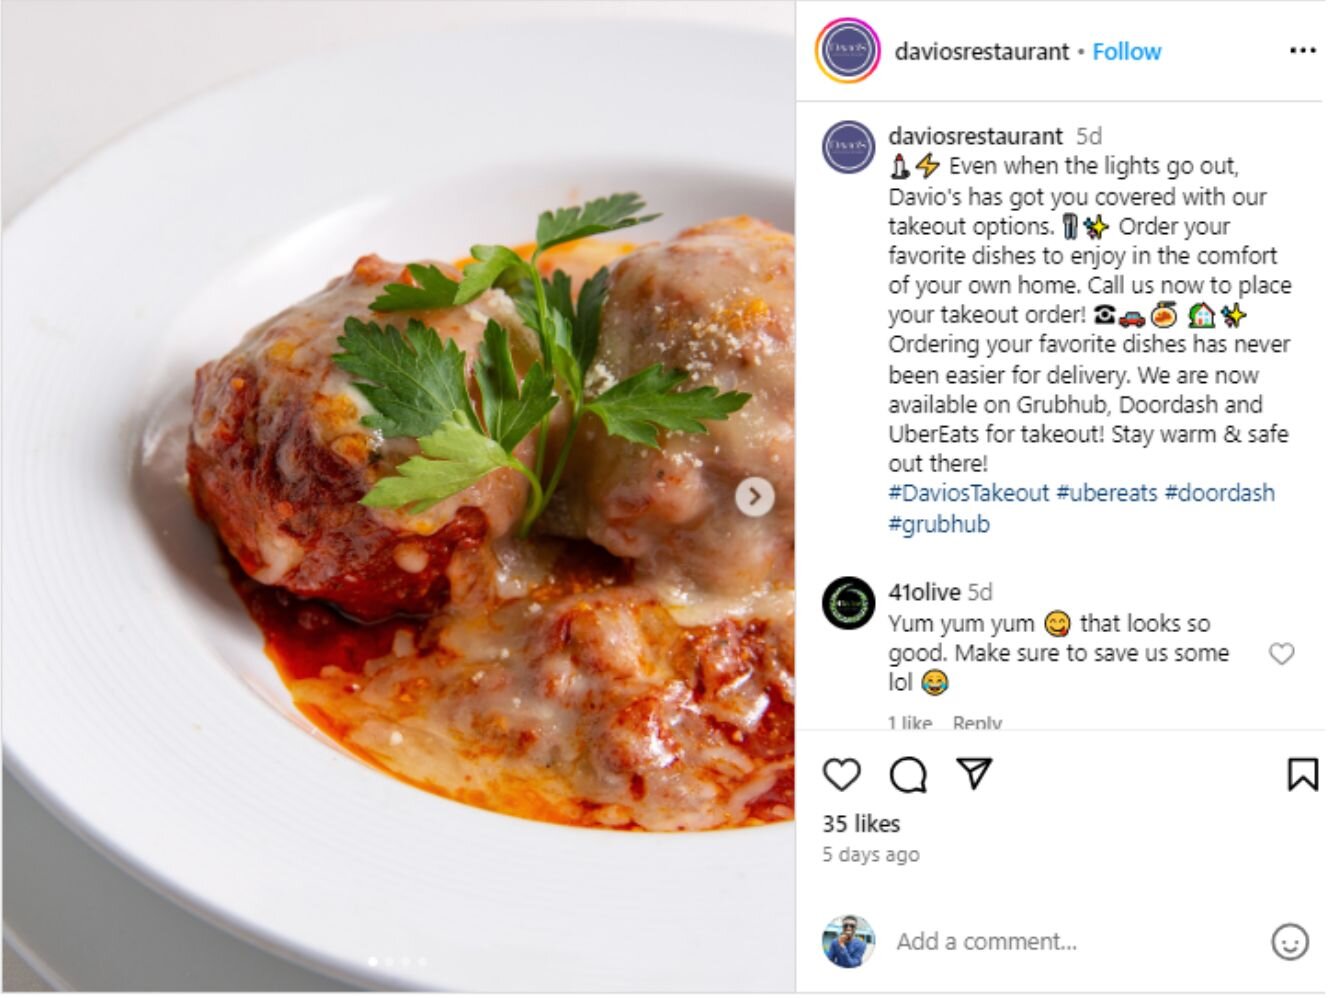
Just take a look at this stunning shot from Davio's Northern Italian Steakhouse that perfectly exemplifies this principle. The soft natural light creates realistic shadows, giving more depth and three-dimensionality to the image.
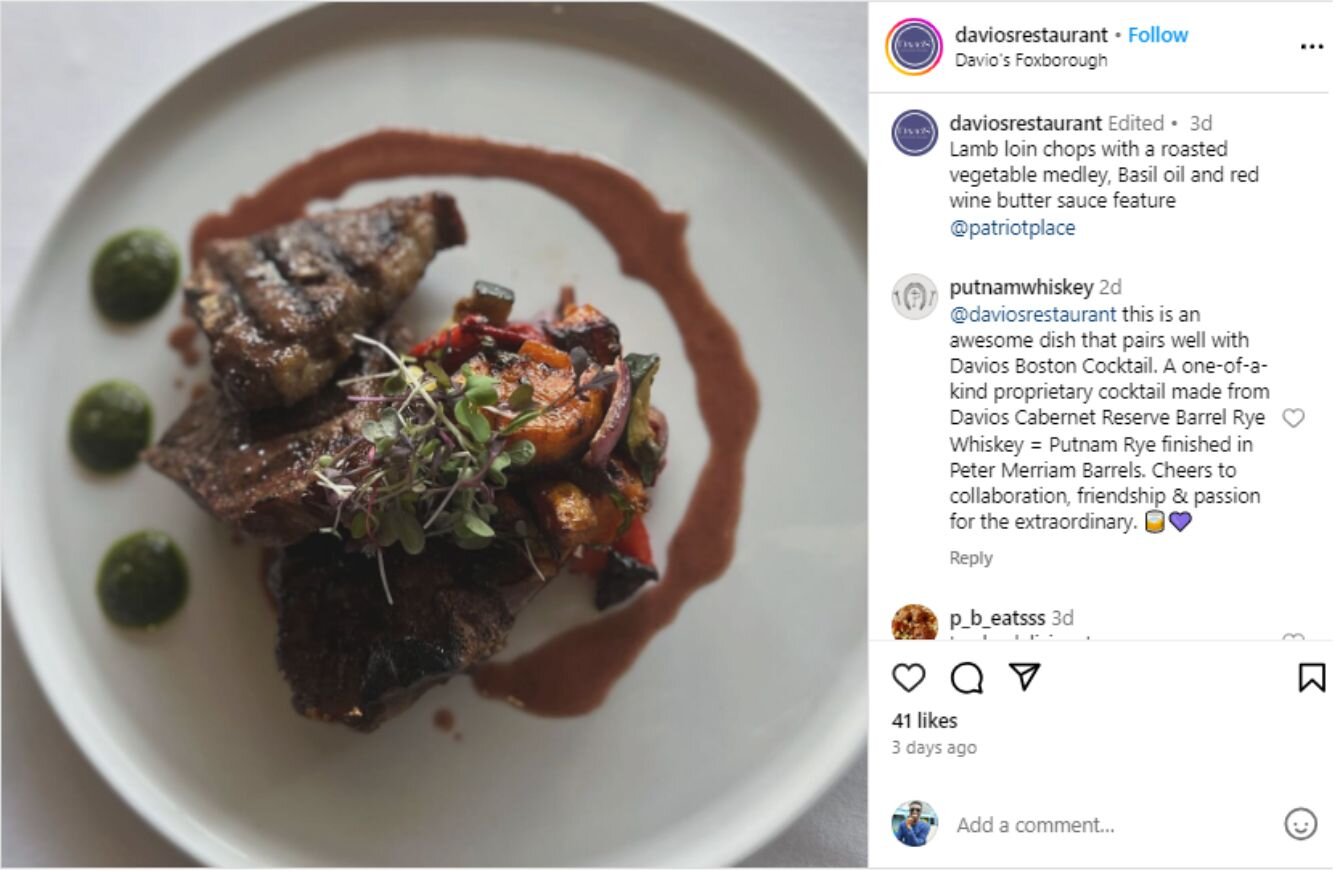
When shooting in natural light, use a reflector to bounce light back onto your subject and fill in shadows. This will help create a more evenly lit, professional-looking shot.
But what if you're shooting in a space with no windows?
No worries! You can still fake that natural light look with a few pro tricks.
Take it from food photography whiz Brandon Figueroa. His go-to technique? Recreating soft, diffused “sunlight” by using a large light source, like a softbox, as fill to mimic light from the sky. Then he adds a harder key light, like a bare bulb flash, to represent the sun.
"This is how soft sunlight is created," Brandon explains. "It does take many different forms and different looks, but essentially, it follows this same exact concept."
By balancing a soft fill light with a more direct key light, you can achieve that natural-looking light quality even if you're stuck in a windowless room.
Pay attention to the direction and quality of the light hitting your hero dish. Is it soft and diffused like on an overcast day? Cool and directional like early morning light? Warm and dramatic like golden hour?
Mastering the art of light manipulation can take your food pics from average to Insta-worthy. So play around with different setups and light sources until you find a look that makes your dishes shine (literally).
Your hungry followers will be double-tapping in no time.
2. Move beyond the basics of composition
With lighting mastered and your pictures now looking bright and airy, moody and dramatic, or anything in between, it's now time to take your composition to the next level.
Composition refers to how you arrange and frame the elements in your photo.
Your aim is to find the most visually appealing way to place your subject, props and negative space within the frame to create a balanced, harmonious image that draws the viewer's eye exactly where you want it.
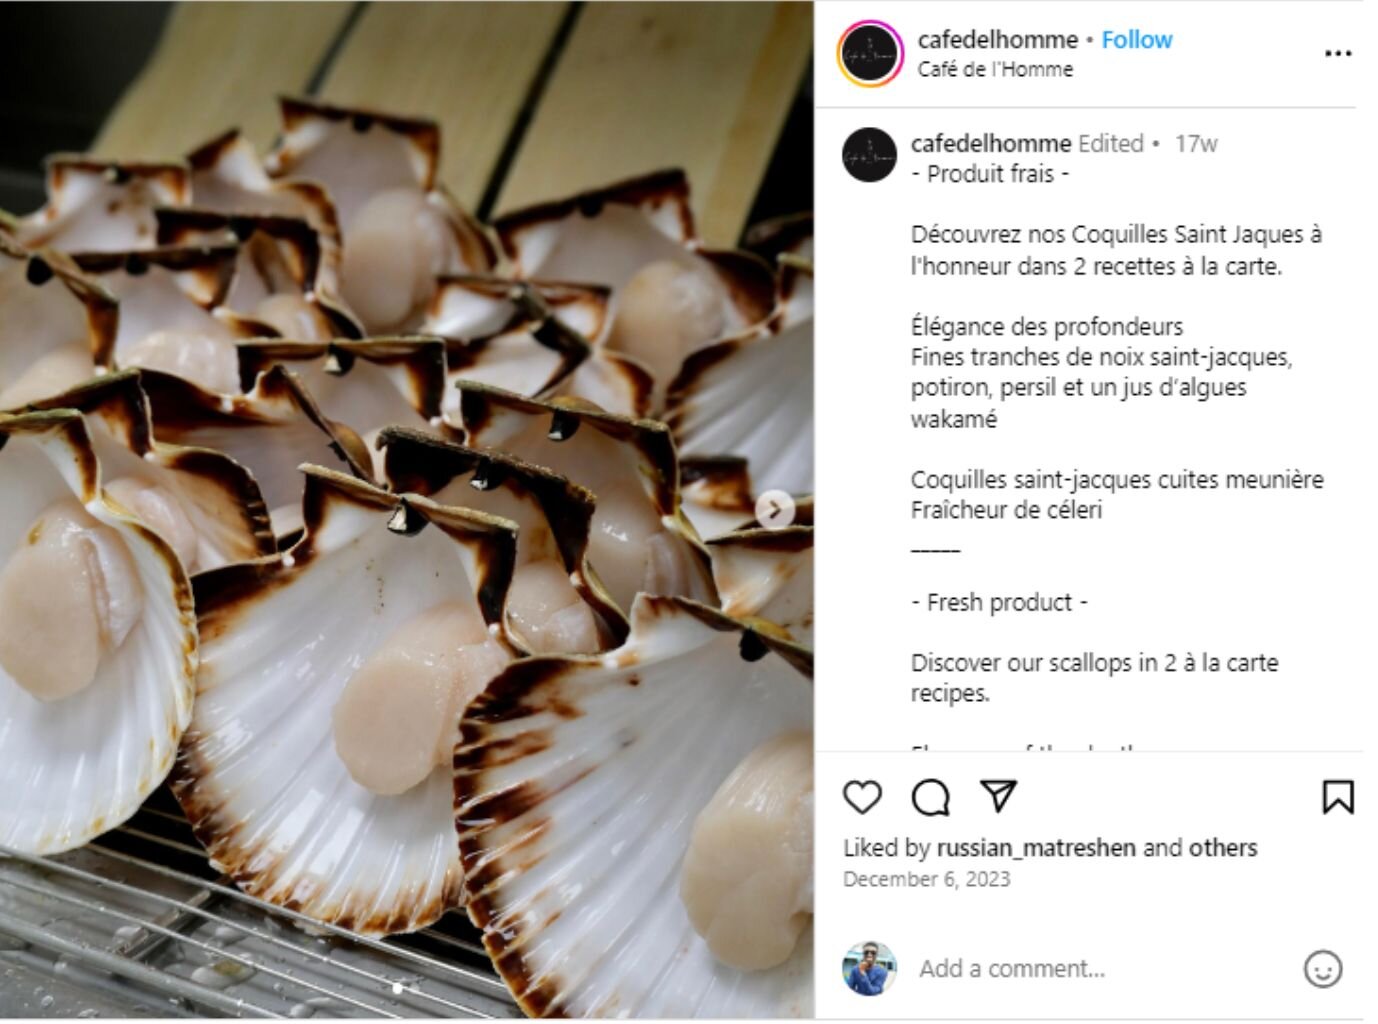
One pro tip for creating eye-catching food photos? Embrace patterns and repetition.
As food photographer Lauren Short explains:
"Repetition is a great technique when you've got lots of subjects that are fairly similar, like cupcakes. The more you repeat something in a photo, the more importance it gives to that element."
When styling your next shot, try arranging those tomato slices in a neat row or fanning out a dozen colorful macarons. The repetition will create a visually striking pattern that draws the viewer's eye right to the star of the show.
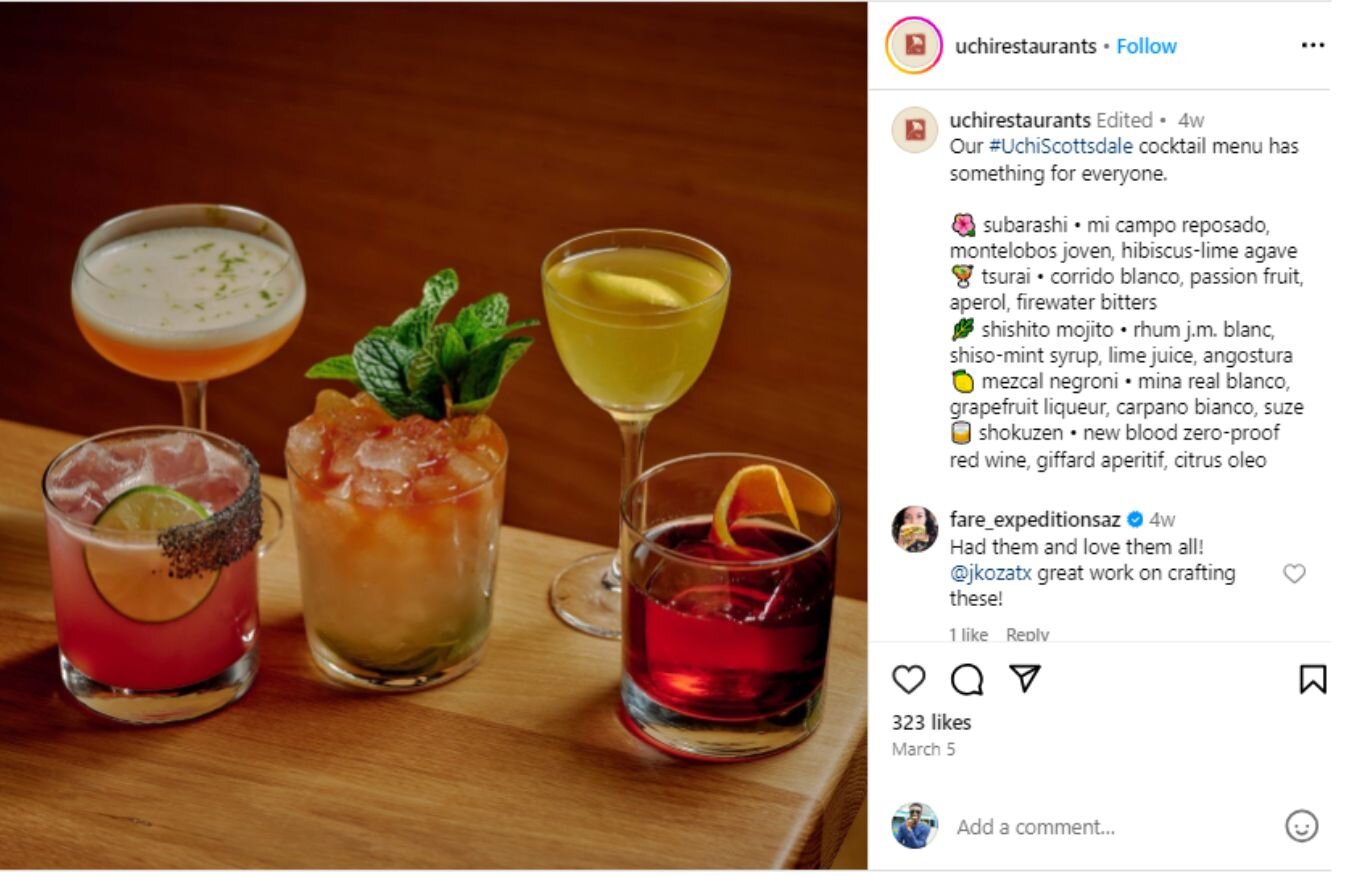
But don't stop there! Combine repetition with other advanced composition techniques like the rule of odds for even more impact. The rule of odds states that groupings of odd numbers (like 3, 5, or 7) are more visually appealing than even-numbered groupings.
Lauren suggests:
"When you're including lots of similar subjects in a photo, try to utilize other composition techniques like the rule of odds and composition guides to help you with interesting placement.”
So instead of styling four cocktails, try three—or five.
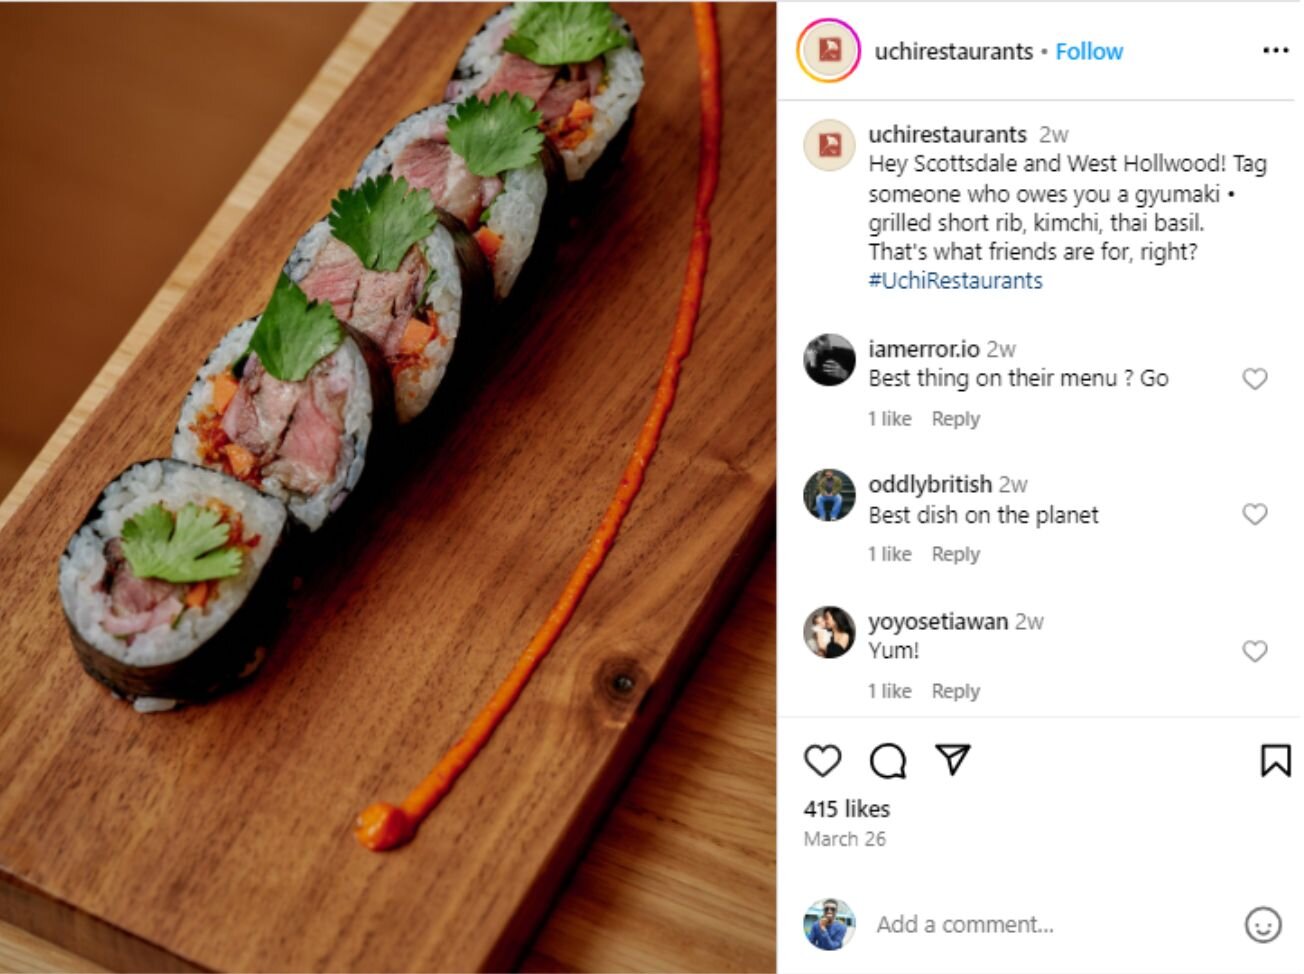
Or arrange five juicy pieces of sushi on a board.
Beyond numbers, you can also play with patterns and textures to add depth and interest to your shots.
Look for opportunities to contrast smooth, creamy textures with something rough and crunchy. Like a velvety soup with a crispy crouton on top, or a glossy cake with a matte dusting of cocoa powder.
While you’re mixing and matching, don’t be afraid to add a little visual interest.
For example, in a sea of identical iced sugar cookies, place one "rebel" cookie with a unique design or color off-center, using the rule of thirds. The break in pattern will catch the viewer's eye and add an element of playfulness to the shot.
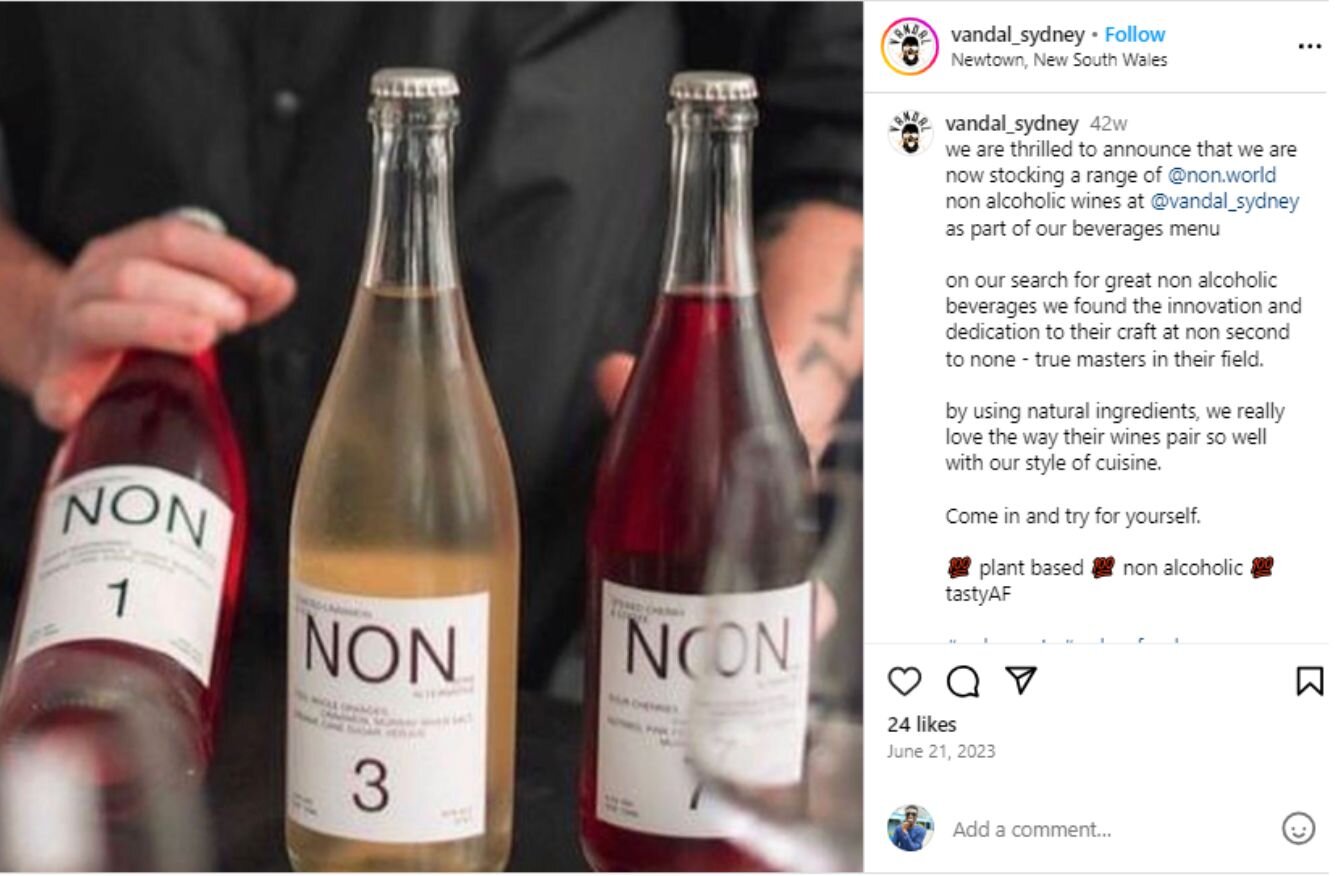
Vandal Sydney does exactly that in the image below, disturbing the pattern of three standing wine bottles by tilting one:
The key is to train yourself to spot patterns and textures in your food and props and then experiment with arranging them in clever, creative ways. The more you practice, the more naturally it will come to you.
3. Evoke the senses and tell a story
The most drool-worthy food photography doesn't just make you see the dish. It makes you taste it, smell it, practically reach out and grab it through the screen.
In other words, it engages all the five senses.
As food photographer and YouTuber Sadia Badiei puts it:
"Eating is a multi-sensory experience.Through the art and beauty of food photography and food styling, we want to tell a story that taps into as many senses as possible.”
So how do you create photos that tickle more than just the visual cortex? It all comes down to the details.
Take a cue from Sadia and try artfully sprinkling some breadcrumbs around your avocado toast shot. The crumbs will instantly evoke the sound of crunchy toast being sliced and bitten into. Your viewers will practically hear the crunch.
Or try capturing a shot of creamy milk being poured into a mug of rich coffee. A shot like this will have your viewers practically smelling the comforting scent of freshly brewed java, as if they were right there in the cafe with you.

The key is to think beyond the visual and consider what other sensory details you can weave into your shots to tell a more immersive story.
Is your hero dish a big, juicy burger? Show a hand picking it up or a bite taken out of it to evoke a sense of touch and taste.
Shooting a fizzy drink? Get a close-up shot of the bubbles to bring sound and texture to mind.
It's about creating a mood and a feeling.
So before you snap your next pic, pause and consider the full sensory experience of your dish. What flavors, textures, aromas and feelings do you want to evoke? What little details can you incorporate to bring those to life?
Maybe it's a sprinkle of chili flakes to hint at heat, a swirl of glossy sauce to suggest silky richness, or a scatter of fresh herb leaves to evoke a pop of brightness and freshness.
The more you can engage the senses and tell a story with your food pics, the more your viewers will connect with them on a gut level. And that's what will have them running to book a table at your establishment faster than you can say "bon appétit."
The final course: master the rules, then dare to break them
These three pro-level food photography tips will help take your food images from "just okay" to "oh my god, I need to eat that now."
But there is a caveat: don’t let these “rules” stifle your own unique vision.
As Andrea Di Lorenzo puts it,
"Sometimes you have to step outside your comfort zone or the latest trends to find your own style. Even today, I try to change something up every time, even if it's small. That's how you grow and develop your signature look."
So master the technical stuff, but don't be afraid to put your own spin on it. Experiment, make mistakes and keep pushing yourself to try new things with every photoshoot. That is how you create food photos that don't just blend in, but make people stop, stare and make direct reservations at your restaurant.
Now go forth and shoot some delicious pics!
And when you do, tag us @sevenrooms so we can salivate over your creations.
Food photography frequently asked questions
Do I need a fancy camera to take great photos of food?
No, most modern smartphones can capture excellent food shots when combined with good lighting and styling techniques. So, your iPhone might be all you need.
How can I make my food photos stand out on social media?
Focus on creating images that are visually striking, emotionally compelling, and distinctly "you." Experiment with unexpected angles, creative compositions and eye-catching color palettes that align with your brand's unique style and identity.
Don't be afraid to break the rules and try something different from what everyone else is doing. Use storytelling techniques to create a sense of mood, place and experience around your dishes. And don't forget the power of a well-written caption to draw viewers in and make them hungry for more.
What's one common mistake to avoid when photographing food?
Relying on artificial lighting or a flash, which can create harsh shadows and unappetizing color casts. Always opt for natural light when possible.